Whether you need extra storage, a garden workspace, or a weekend DIY challenge, building a shed is a great project for homeowners of any age. It adds functionality to your property and gives you the satisfaction of building something with your own hands.
If you’re 40 or older and getting into DIY, don’t worry — shed building is a very doable project when broken down into simple steps. Here’s what you need to know before you get started.
Why Build a Shed Yourself?
- You save money compared to buying a pre-built shed
- You get to customize size, layout, and materials
- It’s a satisfying hands-on project that builds confidence
Even basic shed plans can be completed in a few weekends with the right tools and preparation.
What Will You Use It For?
Before you pick up a hammer, get clear on your shed’s purpose. This affects size, layout, and materials.
Common uses:
- Lawn and garden tool storage
- Workshop or hobby room
- Bike or equipment shelter
- Potting shed or greenhouse
- Emergency supplies or seasonal items
Knowing the goal helps you design something that truly works for your needs.
Choosing the Right Location
Pick a spot in your yard that is:
- Flat or easily leveled
- Not prone to flooding or pooling water
- Easily accessible from your home
- Compliant with local zoning or HOA rules
Consider sun exposure, especially if you’ll use it as a workspace or garden shed.
Picking Your Shed Design
You don’t need to reinvent the wheel. Search for beginner-friendly shed plans online. Look for:
- Clear diagrams and cut lists
- Straightforward framing techniques
- Dimensions that suit your space
Sheds can be:
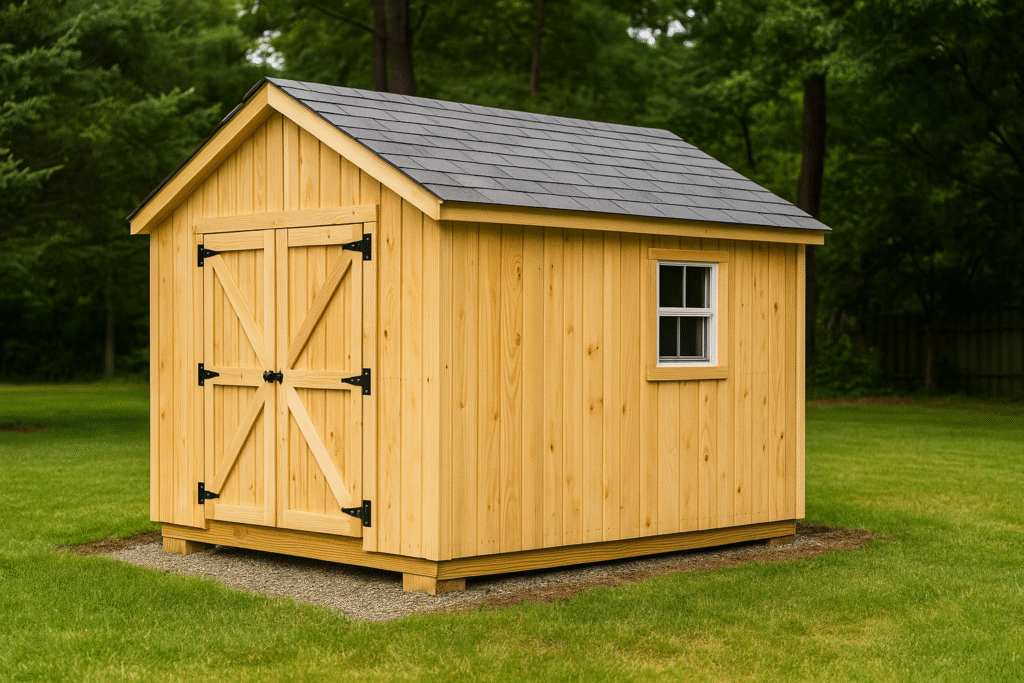
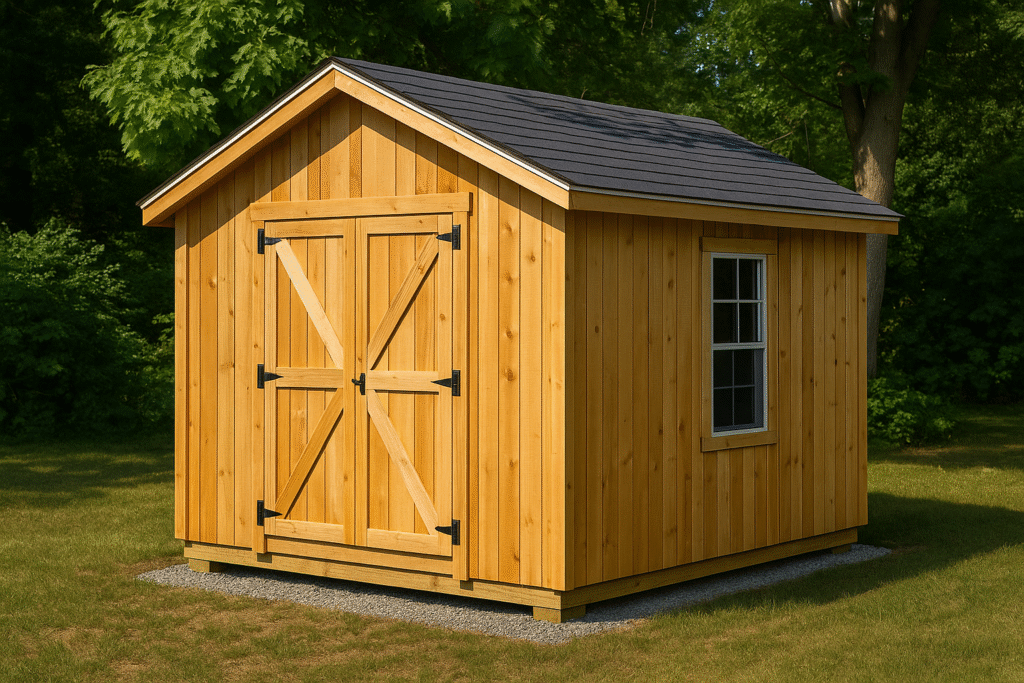
- Gable-style (classic A-frame)
- Lean-to (simple slanted roof)
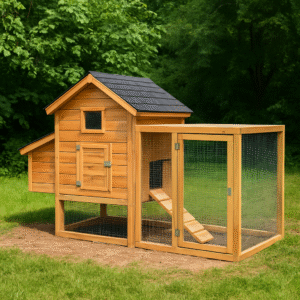
- Barn-style (extra vertical space)
Many people start with a basic 8×8 or 10×12 shed.
Materials You’ll Likely Need
- Pressure-treated lumber (2x4s and 4x4s)
- Plywood or OSB for floors and walls
- Asphalt shingles or metal panels for roofing
- Concrete blocks or pavers for the foundation
- Screws, nails, brackets, hinges, door hardware
Optional upgrades:
- Windows or skylights
- Insulation and interior panels
- Shelving or workbenches
Tools to Have On Hand
You don’t need a full workshop, but you will need:
- Measuring tape and level
- Circular saw or handsaw
- Drill and driver
- Framing square
- Hammer
- Ladder
If you don’t have all these, see what you can borrow or rent.
Step-by-Step Process Overview
Here’s a simple outline of how a shed comes together:
- Prep the ground: Clear and level the site
- Lay the foundation: Use gravel, pavers, or a concrete base
- Build the floor frame: Use pressure-treated lumber
- Construct the walls: Frame, sheath, and raise one at a time
- Add the roof: Rafters, sheathing, and shingles
- Install the door: Pre-hung or build your own
- Add finishing touches: Trim, paint, vents, or shelves
Each step can be a weekend project.
Tips for First-Time Builders
- Start with a printed plan or blueprint
- Label all cuts before assembling
- Pre-drill screw holes to avoid wood splitting
- Don’t rush — take your time and enjoy the process
- Watch YouTube videos of your shed plan type
Common Mistakes to Avoid
- Not checking for level at each stage
- Using untreated wood for the base
- Skimping on roof waterproofing
- Forgetting proper ventilation
Fixing these later is costly. Build it right the first time.
Final Thoughts
Building a shed is one of the most rewarding weekend projects you can take on. It’s a blend of planning, problem-solving, and hands-on work that pays off for years to come.
With good prep and a steady approach, even beginners can build something functional and sturdy. Your tools, your gear, or your garden will thank you.
And maybe most of all, you’ll stand back when it’s done and say, “I built that.”